Pre-Prepared Bats
Some manufacturers knock in their cricket bats before they send them out to retailers, either by hand or via a knocking-in machine. These bats are termed pre-prepared bats and usually have a sticker indicating this. For example, Gunn and Moore's 'GM NOW' sticker signifies that their bats are knocked in and ready for play straight away.
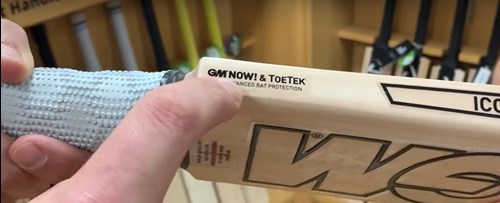
Pre-prepared bats are around 80% knocked in and 'in theory' are ready to go.
TOP TIP - We would always advise you to spend 2 more hours knocking the bat in, even if it is deemed pre-prepared.
How to Knock In Your Cricket Bat?
There are two ways to knock in your cricket bat which we will explore below.
1. Traditional method
To knock in your cricket bat using the traditional method, you will need either a bat mallet or a cricket ball in a sock. We would recommend a bat mallet as your best tool as you can be more accurate.
You can purchase a bat mallet here on our website - Serious Sport bat mallet
To start, get a feel for the mallet on the willow by hitting up and down the face of the bat, going no further than the bottom of the splice (the triangle area at the top of your cricket bat). By doing this you will get a feel for the best performing area of your cricket bat as well as hearing different sounds. However, this isn't the area that you need to focus on when knocking in your bat.
The real focus is on the edges and toe area of your cricket bat.
Start by hitting up and down the edges and down towards the toe area of your cricket bat (DO NOT HIT THE EDGES OR TOE SIDEWAYS ON - THIS WILL DAMAGE YOUR BAT).
Next start by skimming across the edges and toe, replicating the type of glancing blows you could get from a cricket ball in a game. You want to hit the bat hard enough to make a small indentation. This process helps to harden and round the edges and toe area of your bat, blending it into the face.
Dependent on the experience of the user, it is best to complete this in a series of 20-30 minute bursts.
WARNING:
- Do not hit the edge or toe of the bat at 90 degrees as this is likely to increase the chance of cracking.
- Do not use the mallet on the back of the bat.
- The knocking in should be performed with a gradual increasing force, but never too hard to cause damage. Try and replicate what you would expect the force to be if a cricket ball was to hit your bat in a match.
2. Knocking-in machine
Several retailers offer customers a knocking-in service, whereby your bat is knocked in by a machine.
There are many benefits to using a knocking-in machine such as;
- Saves time
- Saves energy and effort
- You don't have to listen to that repetitive knocking in noise
- The machine is more accurate
At Serious Cricket we offer a knocking-in service which is done by machine.
How Do I Know If My Bat Has Been Knocked In Correctly?
Once you have knocked the bat in, it is advisable to use the bat in the nets against an old soft cricket ball or a bowling machine. Avoid a new ball with a hard seam.
Bowling machine balls are a lot more forgiving than standard cricket balls and an ideal way to prepare your bat.
If seam marks or dimples appear on the face of your bat, further knocking in is required.
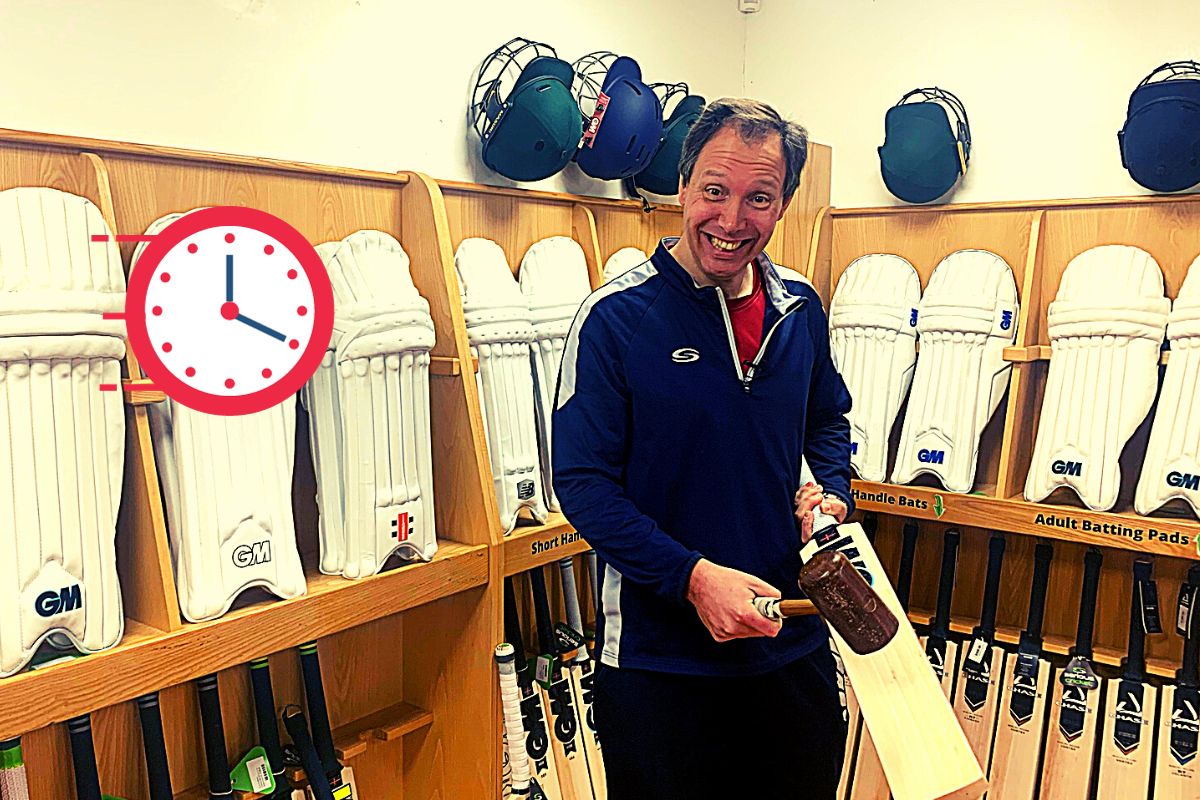
How Long Do I Need To Knock My Bat In For?
If you have a junior cricket bat, we recommend that you take 2 hours to knock it in.
If you have an adult cricket bat, we recommend that you take 4-5 hours.
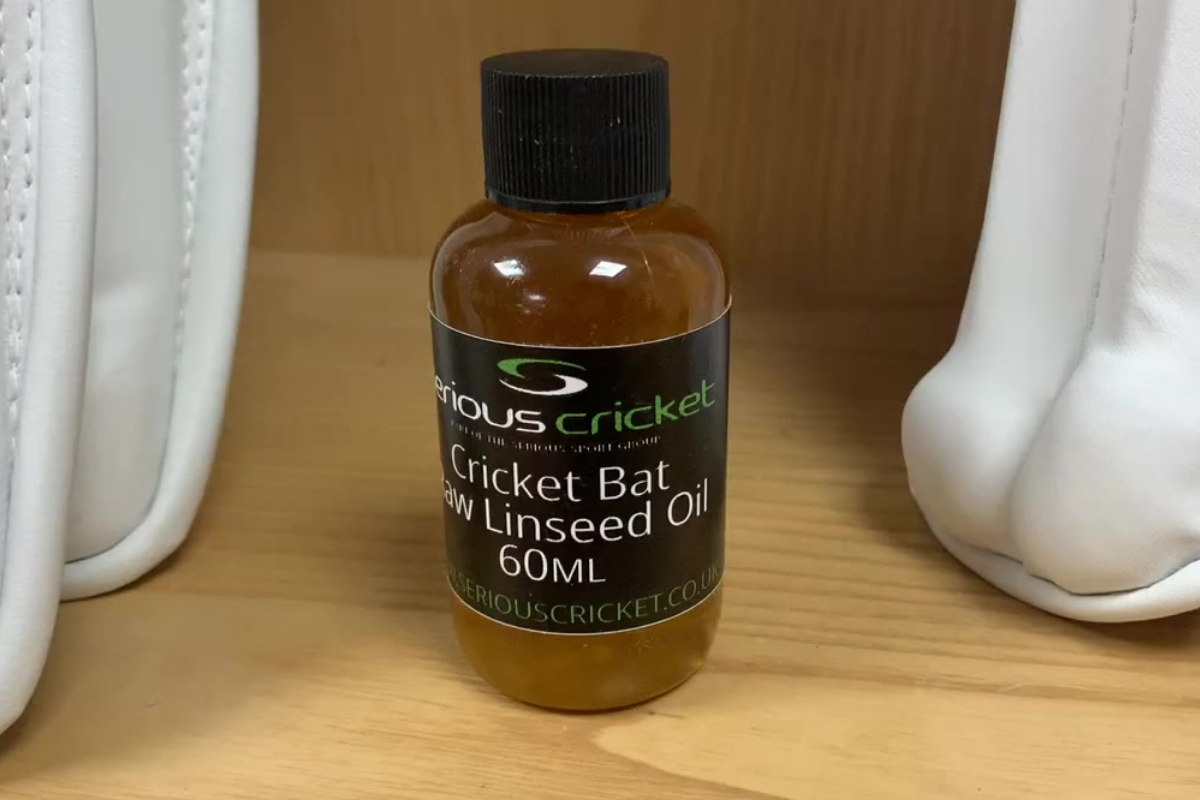
Why Do I Need To Oil My Cricket Bat?
Oiling your cricket bat keeps the wood soft and supple, maintaining the moisture levels which prevents the willow from cracking and splitting. It is very important to oil your English willow cricket bat.
You do not need to worry about oiling Kashmir willow cricket bats.
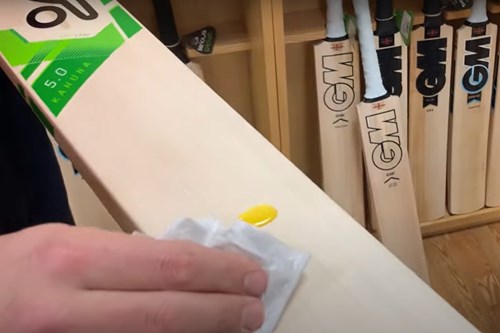
How To Oil Your Cricket Bat?
Apply raw linseed oil to all areas of the bat where the wood is exposed with a cloth. 2 to 3 drops should be enough to start with. Take care not to oil the splice (the triangle area at the top of your cricket bat where the handle fits into the blade) or the stickers as they may come off.